In short
How to detail trimless lighting with bespoke joinery, shelving and alcoves: coordination, drivers, heat, access and the ceiling-to-joinery junction.
Decorex returns to Olympia, London, from 11 to 14 October 2026, bringing together more than 280 suppliers and makers for an audience of over 12,500 designers, architects and specifiers, with lighting one of its product categories (Decorex). Much of what is shown there is joinery, finishes and surfaces, and that is where lighting increasingly lives in high-end interiors: inside shelving, along alcoves and in the junction between a cabinet and a plastered ceiling.
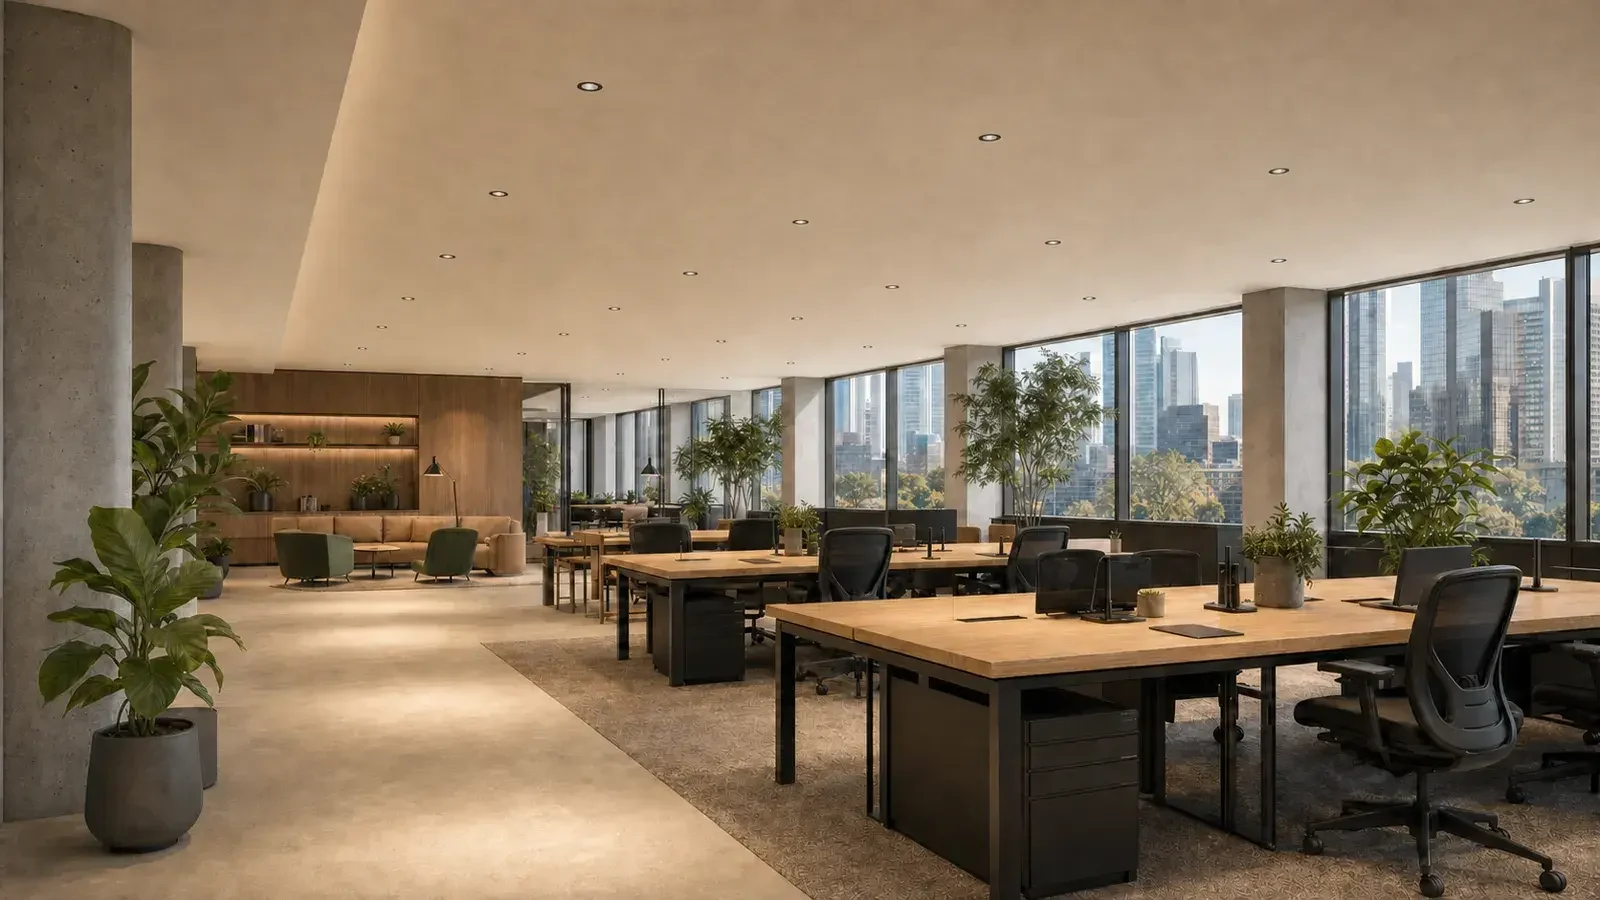
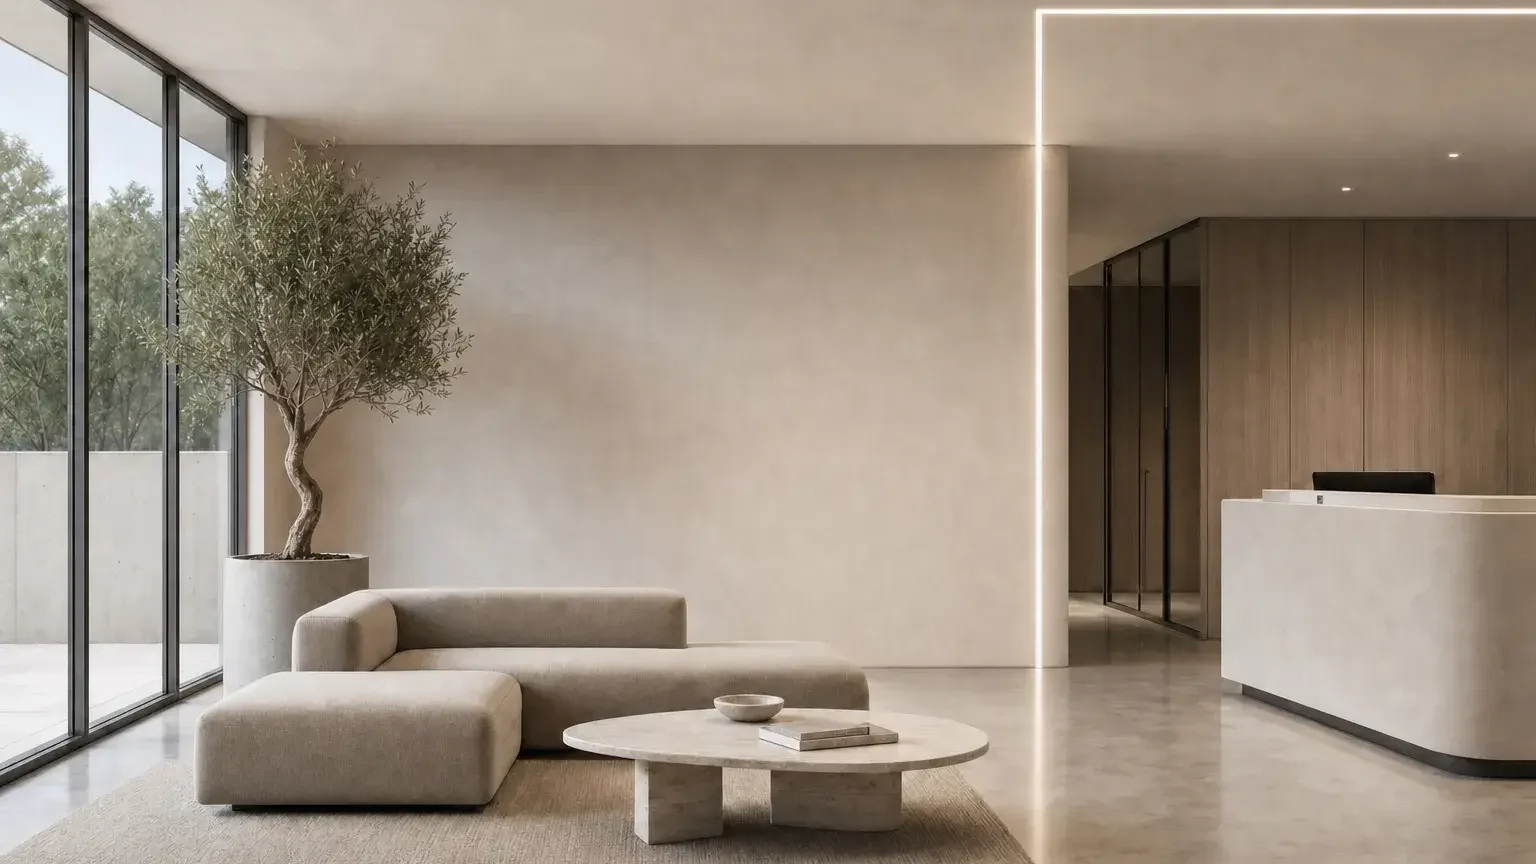
Trimless lighting is at its best when the light seems to come from the architecture itself. In joinery, that means the lighting and the cabinetmaker have to work from the same drawings. This guide sets out the details that matter.
Where joinery lighting works best
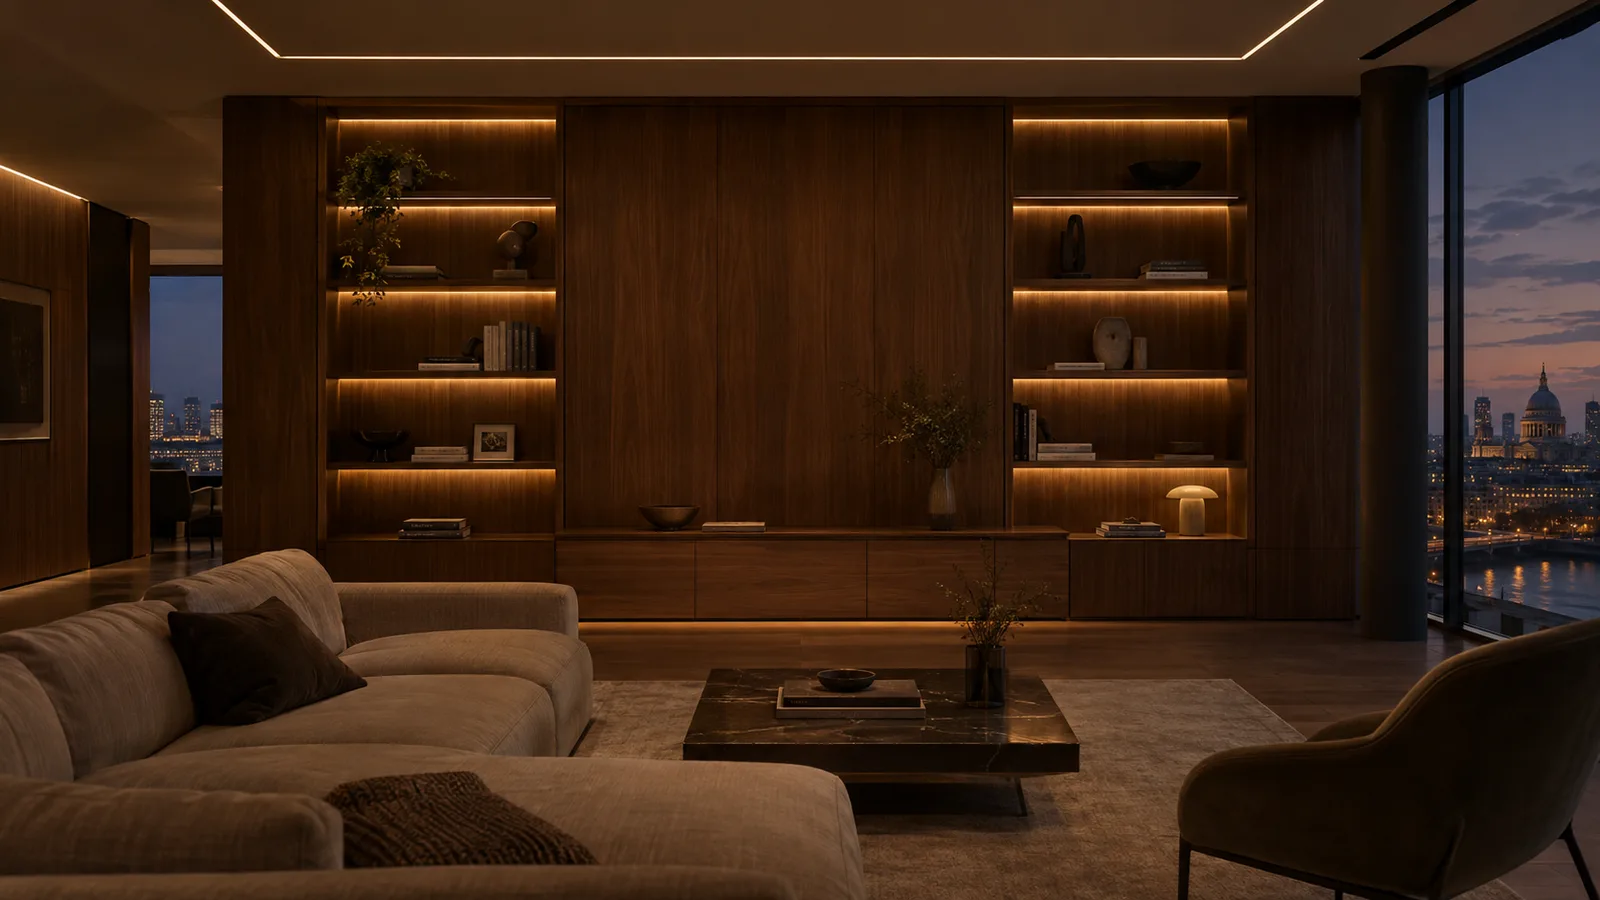
- Shelving and display niches, lit from above or from the sides.
- Alcoves either side of a chimney breast, with a trimless line in the ceiling above.
- Full-height wardrobes and dressing rooms.
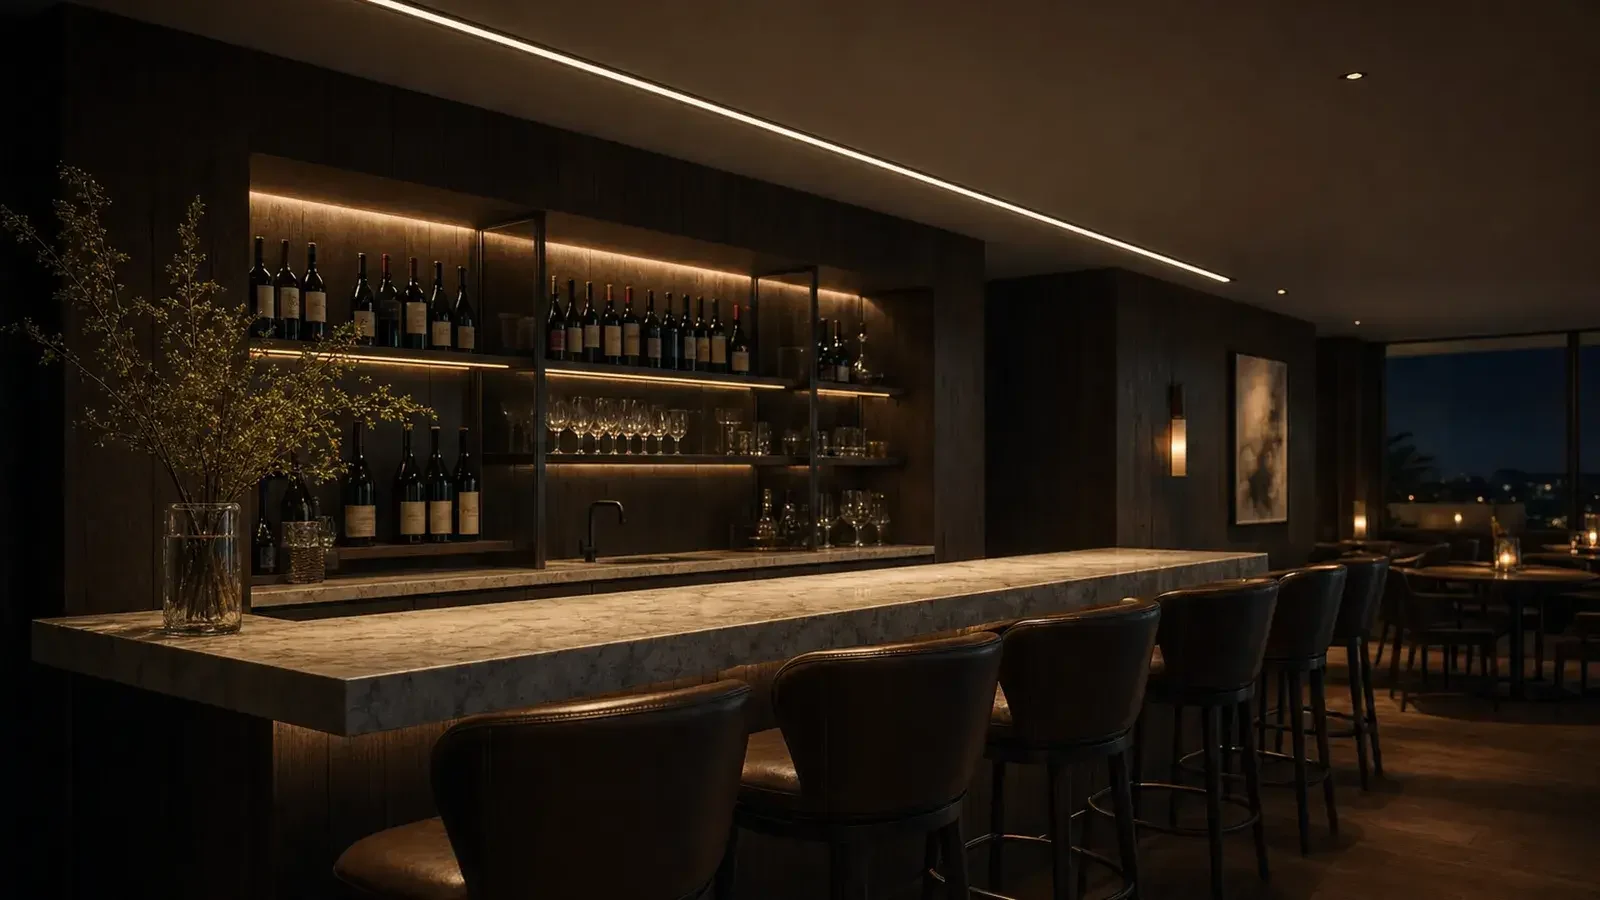
- Bar backs, reception desks and hotel minibars.
- Headboard walls and bedside niches.
In each case the lighting should reveal the material and the objects, not show the source.
Two different details: plaster-in and timber-set
It helps to separate the two parts of the job.
| Detail | Where it sits | How it is made flush |
|---|---|---|
| Plaster-in trimless profile | Ceiling or wall above or beside the joinery | Profile is fixed, then skimmed in so the plaster finishes flush to the diffuser |
| Timber-set or routed profile | Inside the joinery itself | Profile sits in a routed channel, with the diffuser flush to the timber face |
Plaster-in profiles follow the sequence in our guide to how trimless lighting is installed. Timber-set profiles are fitted by the joiner, so the profile dimensions, channel depth and cable routes must be on the joinery drawings before the workshop starts cutting.
Coordinate early with the joiner
Lighting changes made after the joinery is built are expensive and often visible. Issue the lighting information with the joinery package, not after it.
- Profile width, depth and length, and the routed channel size.
- Cable entry points and the route back to the driver.
- Diffuser type and whether it clips in or slides in.
- Where joints between joinery units fall, so light runs can break at the same point.
- Finish of the profile where any edge is visible.
Drivers, heat and access
LED drivers need ventilation and must be reachable for replacement. A common mistake is to seal drivers inside a cabinet with no access panel. Plan a removable panel, plinth or adjacent cupboard for the drivers, and keep them away from timber that could trap heat. Low-power linear modules run cool, but the driver still needs air. Our guide to maintaining trimless lighting explains why access matters over the life of the building.
Light quality on materials
Joinery lighting is close to the surfaces it lights, so small differences show.
- Use a high colour rendering source, CRI 90 or better, so timber, stone and fabrics look true.
- Match the colour temperature to the room, usually 2700K or 3000K in homes and hotels.
- Check that a continuous line has no dark spots at joints; see continuous trimless lines.
- Dim joinery lighting separately from the main ceiling light.
For more on light quality, read colour temperature and CRI for trimless lighting.
The ceiling-to-joinery junction
The neatest schemes treat the ceiling and the joinery as one composition. A trimless line set in the ceiling a short distance in front of tall joinery can wash the doors evenly; a shadow gap between the ceiling and the top of a cabinet can carry a concealed line. Cracking is the main risk where plaster meets timber, so use movement joints and the right beads. Our guide to preventing cracks around trimless lighting covers the junction details.
Mock-ups save money
Make a short sample of the shelf or alcove detail, with the actual profile, diffuser and finish. It settles the light distribution, glare from below and the look of the joints before the full run is made. See why trimless mock-ups matter.
Specifying with 299 Lighting
299 Lighting supplies linear lighting and recessed profiles, including Segura trimless, and makes bespoke lengths cut to suit joinery. For high-end homes, see trimless lighting for high-end homes; for slim profiles and drivers, recessed linear detailing on linear-led.com; and for decorative lamps and wall lights to finish the room, decorativelighting.shop.
Send us your joinery drawings and we will mark up profiles, drivers and access points.
Further reading at 299 Lighting
Next steps on trimlesslighting.com
Planning a trimless ceiling?
Send us your reflected ceiling plan. We'll come back with a shortlist, plaster-in details and lighting calculations.
Start a project →Frequently asked questions
Can trimless lighting be fitted into timber joinery?
Yes, but in timber the profile sits in a routed channel fitted by the joiner, rather than being plastered in. Its size and cable route must be on the joinery drawings before manufacture.
Where should the drivers for joinery lighting go?
Somewhere ventilated and accessible, such as a plinth, a removable panel or an adjacent cupboard. Never seal drivers inside a cabinet without access.
What colour rendering is best for shelving lighting?
CRI 90 or better, so timber, stone, books and objects look natural close up.
How do I avoid cracks where plaster meets joinery?
Use movement joints and suitable beads at the junction, and follow the plaster-in sequence for any trimless profile in the ceiling or wall.