In short
Trimless lighting is installed by fixing a plaster-in profile to the ceiling board or framing, taping and skimming it in, decorating, then fitting the light engine and diffuser.
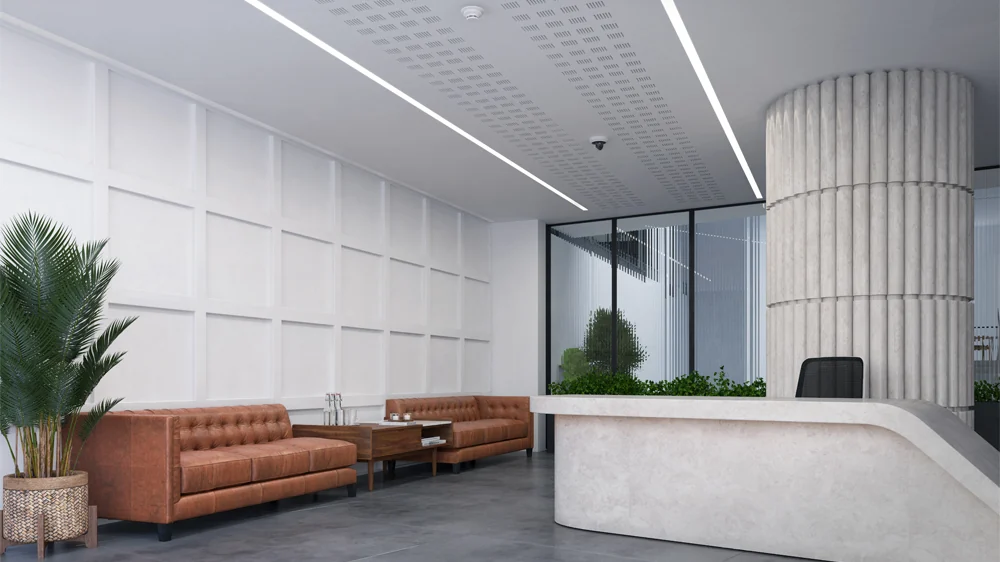
Trimless installation is straightforward when everyone knows their part. Here is the typical process.
1. Set out
Mark profile positions from the reflected ceiling plan and confirm against services in the void.
2. Cut and fix
Cut the board to the profile size and fix the trimless profile securely to the board or framing.
3. First fix
Run cables and position drivers so they will be accessible later.
4. Tape and skim
Apply jointing tape along the profile edges and skim up to the profile lip for a seamless finish.
5. Decorate
Paint the ceiling with the profile protected.
6. Second fix
Install the LED light engine and diffuser, then test and commission.
Further reading at 299 Lighting
Planning a trimless ceiling?
Send us your reflected ceiling plan. We'll come back with a shortlist, plaster-in details and lighting calculations.
Start a project →Frequently asked questions
Who installs trimless lighting?
Usually the drylining contractor fixes and plasters the profile, and the electrician first and second fixes the lighting.
When is the diffuser fitted?
After decoration, to keep it clean and undamaged.